Conda Environment configuration for Apple Silicon M1 Mac
Python version management tool – conda
1. Installation
Miniforge a minimal installer for Conda specific to conda-forge.
Keep package imcompatibility in mind: some package developers haven’t support ARM64 yet.
Short term workaround: create conda environments with x86 architecture on an Apple Silicon Mac.
2. Check enviroment list (may skip)
conda env list
3. Create an enviroment and activate it
Instead of directly creating an enviroment like the following:
conda create -n myenv python=3.9
conda activate myenv
Put those commands into shell function first (add this to ~/.zshrc or ~/.bashrc if you’re using Bash):
create_x86_conda_environment () {
  # create a conda environment using x86 architecture
  # first argument is environment name, all subsequent arguments will be passed to `conda create`
  # example usage: create_x86_conda_environment myenv_x86 python=3.9
  CONDA_SUBDIR=osx-64 conda create -n $@
  conda activate $1
  conda config --env --set subdir osx-64
}

create_arm_conda_environment () {
  # example usage: create_arm_conda_environment myenv_arm python=3.9
  CONDA_SUBDIR=osx-arm64 conda create -n $@
  conda activate $1
  conda config --env --set subdir osx-arm64
}
Then create the desired enviroment as:
create_x86_conda_environment myenv_x86 python=3.9
One of the features of Miniforge3 is the ability to define processor specific sub-directories for specific Python environments. For example, by setting CONDA_SUBDIR=osx-64, conda will be instructed to install packages from x86_64 (osx-64) specific sub-directories. This will enable users to create an environment that installs arm64 or x86_64 (osx-64) Python packages depending on the value defined by CONDA_SUBDIR.
4. Check conda and its enviroment information
Check the conda config
conda config --show-sources
# List the channels the conda could access
Check the current env:
conda info
Sample output:
     active environment : base
    active env location : /home/joshua/anaconda3
            shell level : 1
       user config file : /home/joshua/.condarc
 populated config files : /home/joshua/.condarc
          conda version : 4.9.2
    conda-build version : 3.20.5
         python version : 3.8.5.final.0
       virtual packages : __cuda=11.0=0
                          __glibc=2.31=0
                          __unix=0=0
                          __archspec=1=x86_64
       base environment : /home/joshua/anaconda3  (writable)
           channel URLs : https://conda.anaconda.org/conda-forge/linux-64
                          https://conda.anaconda.org/conda-forge/noarch
                          https://repo.anaconda.com/pkgs/main/linux-64
                          https://repo.anaconda.com/pkgs/main/noarch
                          https://repo.anaconda.com/pkgs/r/linux-64
                          https://repo.anaconda.com/pkgs/r/noarch
          package cache : /home/joshua/anaconda3/pkgs
                          /home/joshua/.conda/pkgs
       envs directories : /home/joshua/anaconda3/envs
                          /home/joshua/.conda/envs
               platform : linux-64
             user-agent : conda/4.9.2 requests/2.24.0 CPython/3.8.5 Linux/5.4.0-58-generic ubuntu/20.04.1 glibc/2.31
                UID:GID : 1000:1000
             netrc file : None
           offline mode : False
5. Package management in an enviroment
List installed packages:
conda list --show-channel-urls
Two options to install new packages:
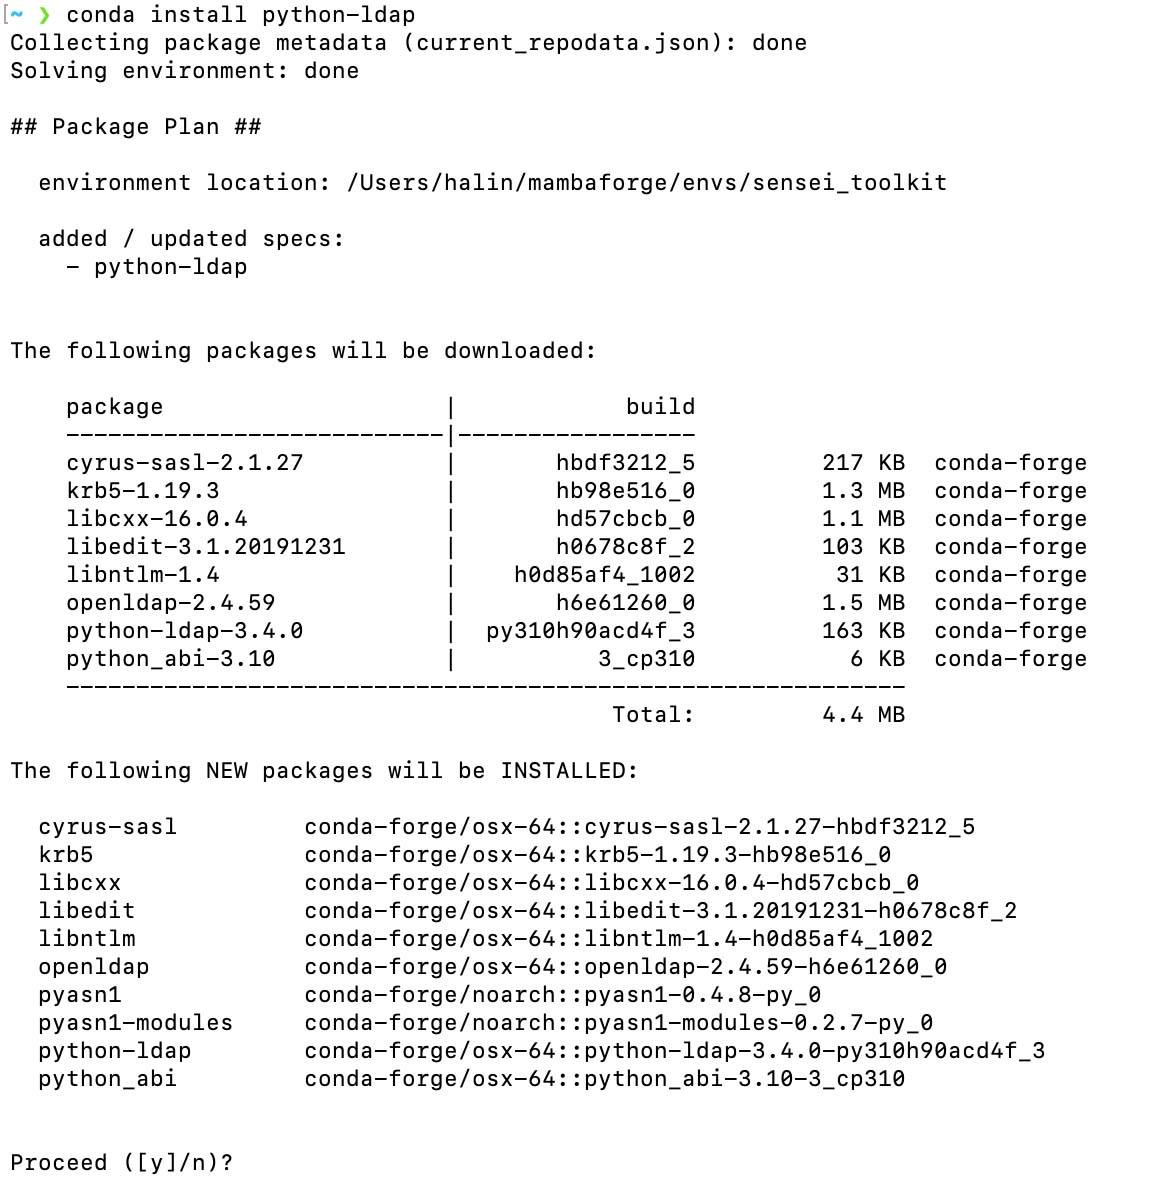
conda install xxx
For packages that are not available through conda, you’ll need
pip install xxx

6. Moving conda environment
Install conda-pack
# Through conda-forge
conda install -c conda-forge conda-pack

# Through PyPI
pip install conda-pack
# Pack environment my_env into my_env.tar.gz
conda pack -n my_env

# Pack environment my_env into out_name.tar.gz
conda pack -n my_env -o out_name.tar.gz

# Pack environment located at an explicit path into my_env.tar.gz
conda pack -p /explicit/path/to/my_env
References
Enjoy Reading This Article?
Here are some more articles you might like to read next: